Tuesday, February 26, 2013

Product Review-Petz Life Oral Care Gel and Spray

February is pet dental health month .   According to the American Veterinary Dental Society (AVDS) almost 80% of dogs and 70% of cats over the age of three have some sort of peridontal disease.   Since bacteria on the teeth and gums travel to other parts of the pets body: heart, lungs, joints, kidneys, and intestinal tract.   So its easy to see that proper oral hygiene is a very important component of any pets medical routine.   Tooth care is especially important for small dogs who have the same number of teeth, 42, as a large dog but in a smaller space. The breeds who tend to have the most tooth problems are Poodles, Maltese, Chihuahuas, and short faced breeds like Pekinese, Cavalier King Charles Spaniels, Boston Terriers, and ....Pugs!


The most important part of a pet dental health care routine is brushing at home, especially if like me you want to avoid anesthesia at all cost (a bigger concern if you have a breed that has difficulty with anesthesia like a pug).   

To care for my dogs teeth I use Petz Life Oral Gel and Spray

Petz life is recommended by a number of well known Holistic vets.  It uses grape seed extract to remove plaque and tartar from a dogs teeth.  According to Petz Life when using the gel you don't have to brush and can just apply with your finger (I choose to brush as its more effective and my dogs are used to it).  Petz life gel also contains a small amount of grain alcohol which makes some owners nervous.  After reading up on the product online and talking to my vet I feel completely comfortable using it with my pets.  The company also welcomes calls from consumers and will discuss any concerns with you over the phone or through e-mail.  You can by it at any number of quality pet supply stores, on amazon, and from Olive Green Dog.

From my own experience I do feel Petz Life works, its true that even with daily cleaning Tubby and Ping have some small signs of dental disease, but my vet assures me it is less severe then in most pugs.   My vet has also told me that Bob has the best teeth he has ever see on a Bulldog


and at nearly 11 Norbert has no plaque at all!

Getting a puppy used to tooth care is very easy, it may be a bit more of a challenge with an older dog.  Start by running your finger over your dogs teeth while you are holding them.   If they resist you can put something tasty on your finger (I never had to do this with either  Bob or Weasley as I started touching there teeth right away when they came home and they never minded).   Once the dog tolerates you rubbing the teeth put a little tooth paste or tooth care gel on your finger and rub it on the teeth.   I also let Weasley chew on his brush a lot when he was a younger puppy, something he still enjoys:


For Weasley who as a puppy has no plaque at all I choose to brush is teeth with  Petosan  mostly because it is a bit less expensive then Petz Life.  Happy brushing!


Monday, February 25, 2013

DIY-Two Minute Toy

Want to make the worlds simplest do it yourself dog toy?   

 All you need is an old ripped stuffy (RIP Mr. Gorilla), an old sock missing its mate, some yarn and a yarn needle or a needle and thread.  Pull the stuffing and squeaker out of the toy and stuff those into the sock then stitch the top up, see two minutes.   

 Granted this toy is not pretty but what can you expect for two minutes.
Now play:


 Remember this toy wont last, its gonna get ripped and the stuffing will be pulled out in about fifteen minutes so watch closely.


Powered by Linky Tools
Click here to enter your link and view this Linky Tools list...

Saturday, February 23, 2013

A Geeky Breakfast from Game of Thrones


On Tuesday mom got all excited because she got a package in the mail based on how happy she was we figured it had to have something edible in it, maybe a Bark Box!  When mom opened it we saw a boring blu-ray box set:


Mom you can't even eat this

Mom explained to us that it was the season 2 boxed set of Game of Thrones.   This is one of those geeky shows mom and dad like and they don't have HBO so they have never seen season two, they have read the super long books though (or at least some of them).   Mom tried to tell us that we liked the show by reminding us that it has dogs, or dire wolves as they are called on the show, in it and we do like barking at dogs on TV.


We still were not very interested, food is better, but then mom told us there is a lot of food mentioned in the Fire and Ice books.  According to her a lot of the recipes sound pretty fanciful Pie stuffed with 100 doves for example and some are quite revolting, at least to humans.  Honey roasted mice anyone?
Sounds good to me!
But quite a few of the foods are familiar to modern viewers, roasted chicken and lamb for example, and plenty of tarts.  Some ambitious and talented fans of the series decided to create recipes inspired by the books and show and have created a website, Inn at The Cross Roads, and a cookbook, A Feast of Ice and Fire.  Mom spent some time looking at the website and decided to create one of the simpler meals, and best part she said we could have a taste of the bacon (we are starting to like this Game of Thrones thing).

Mom decided to make Breakfast at Winterfell, which consists of soft boiled eggs, thick bacon, buttered peasant bread, sharp cheddar cheese, honey, and black berry jam.


Smells tasty

 Perfect Soft Boiled Egg
  • 1 organic egg
  • vinegar and salt
Take the egg out of the fridge about a half hour before you are going to cook it.   Bring a small pan of water to a simmer and add 1 tsp of vinegar and a pinch of salt.   Add the egg to the pot and simmer/boil for exactly four minutes.  Serve with buttered  bread.

Everyone was very happy with the breakfast, except the cats who where really hoping for those mice.


Friday, February 22, 2013

Happy Birthday Edward Gorrey

Today is the 88th anniversary of the birth of the late Edward Gorrey a writer and artist known for his cutely macabre work.  Gorrey was a cat rather then a dog lover, 
https://blogger.googleusercontent.com/img/b/R29vZ2xl/AVvXsEgpz1L-Feg-24Iw0YdLxWlou51Y_knI_Ru90sFCt0npz8H6nqgaAQ9SddlHWGzCxmryiSheLbHTL2lo4s8IN0p9rcRYtHSvSkK8x1odtlR18AiatGvUH0TTpLPVcBLyCfmpbDX1c1wG47A6/s1600/cat15gorey.jpg

and lived with many in his home in Cape Cod.  

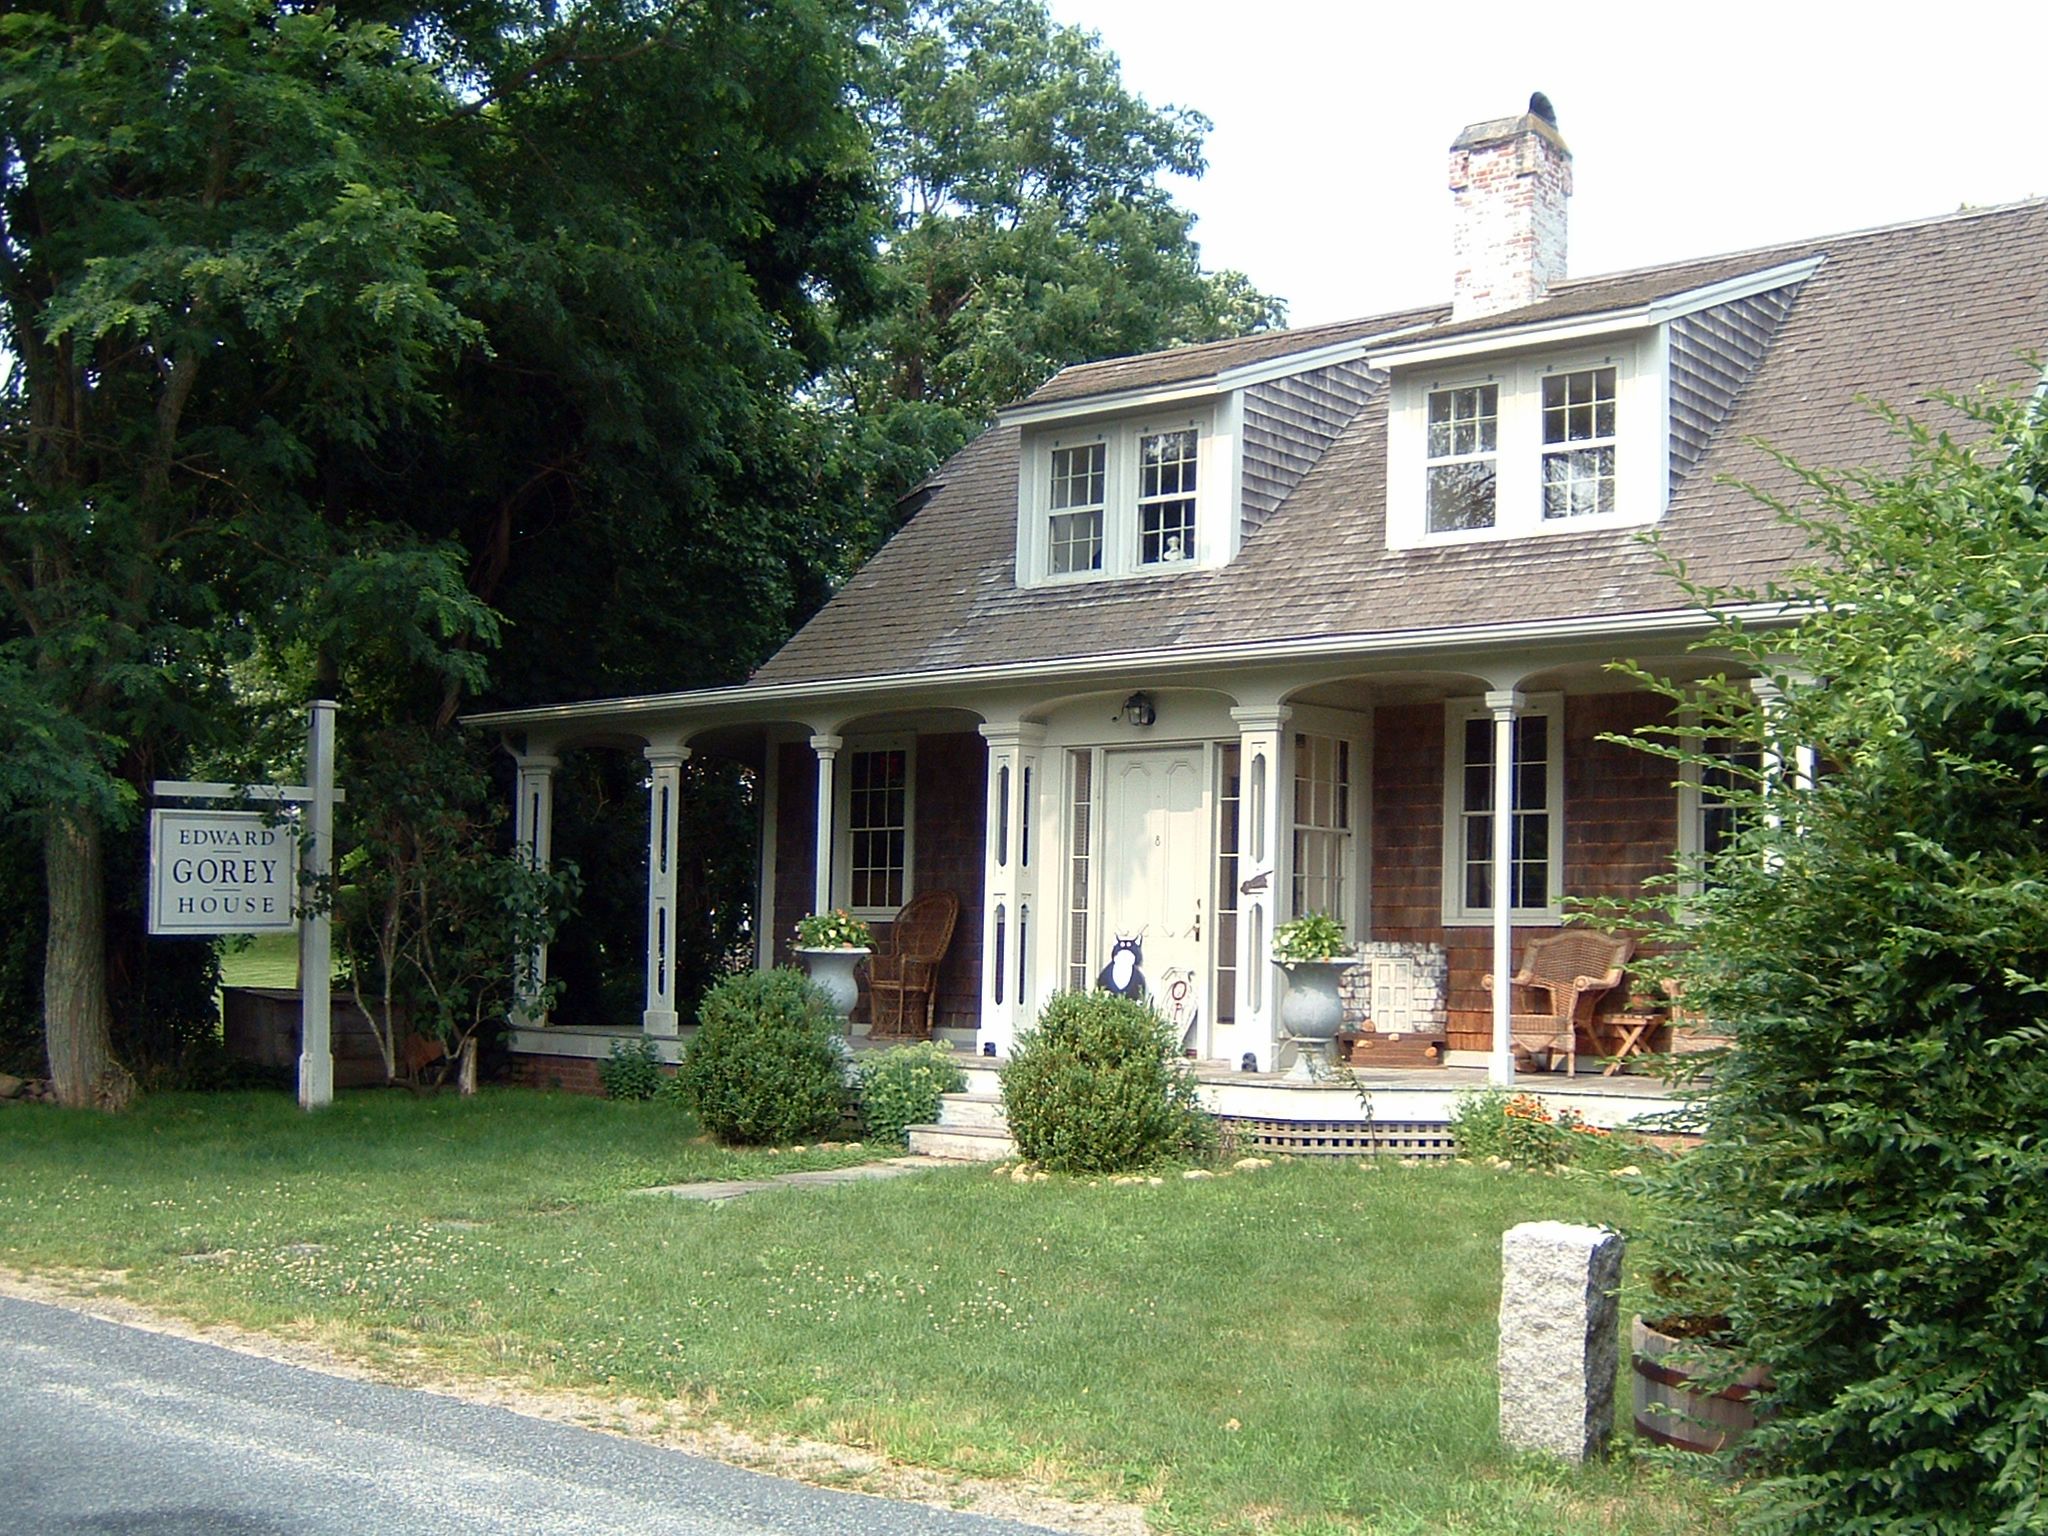
Today you can visit his former home in Cape Cod

http://upload.wikimedia.org/wikipedia/commons/8/8c/Edward_Gorey_House_3.jpg

or you can shop online a the museum store for a plush cat inspired by his cat illustrations
http://www.goreystore.com/sites/goreystore.com/files/imagecache/product_full/products/19156_skuimg.jpg.
Here are some of my favorite Gorey illustrations of cats and dogs


[gorey.jpg]


tumblr_lxx7bmHLHJ1qlf56so1_500.jpg

Thursday, February 21, 2013

Super Easy Magic Loop Mittens

I've wanted to knit mittens for awhile and with it being so cold, I finally got around to doing it.  I combined two patterns to make these mittens Magic Loop Mitts from Ravelry and House Mittens from Charmed Knits.


Magic Loop is nice because you don't have to worry about four needles and you can try on your work as you go.


To make my mittens I used Manos Del Uruguay worsted weight yarn and a very long size 6 needle.  I cast on 40 stitches and knit in 2 by 2 rib for 3 inches.  Then I set up for the thumb using the instructions for the Magic Loop Mitts on Ravelry.  Its very easy to set up you K2 place a marker K1 place another marker and then continue to knit around, 37 more stitches.  On the next round knit plain.  For the thumb increase round: knit to the marker, slip marker M1R (increase one stitch to the right) K1m M1L (increase one stitch to the left) slip marker and continue knitting around.  Repeat this increase round every third row until you have 13 stitches between the markers.   Knit around two more times and on the next round, remove the markers and hold the thumb stitches on scrap yarn.   On the next round KFB (knit front and back) in first stitch and then knit around.  Continue knitting around until the mitten measures about 8 inches or comes to the top of your ring finger.   Then decrease the hand as follows: K8, k2tog, rep, Knit the next round, K7 K2tog, Knit next round (32 stitches remain), Knit the next round.   Now decrease every row K6, K2tog, rep all the way round then K5, K2tog, repeat all the way around, K4, K2tog repeat all the way around, K3, K2tog, all the way around, K2, K2tog, all the way around, K1 K2tog all the way around, K1 K2tog all the way around, K2tog all the way around.  You should have four stitches remaining.  Cut the yarn and thread on a needle and pull through the remaining four stitches and then weave into the inside of the mitten.  To finish the thumb pick up the thumb stitches, plus two stitches from the gap so that your thumb has no holes (you should have about 15 stitches), divide the stitches according to the magic loop method, rejoin the yarn,  and knit around until it reaches the middle of your thumb nail.  Then decrease by K1, K2tog all the way around, and then K2 tog all the way around until you have 3 stitches remaining.  Cut the yarn and thread it on a needle and pull through the remaining stitches and thread into the inside of the mitten.    Repeat for the next mitten.

Don't do what I did and knit too loose on the second mitten, one of mine is a little big.  Anyway, they still keep your hands warm while playing ball with dogs (and they coordinate well with a Red Cuz):